
Tags:
Written by Dilusha Samarasekara – Associate Member, RSSL
SDRSharp is a popular software-defined radio application that allows you to receive and decode a wide range of radio signals. It’s a great tool for exploring the world of radio, and it’s relatively easy to start with.
Step 1: Download and Install SDRSharp
The first step is to download and install SDRSharp. You can download the latest version from the official website (https://airspy.com/download/). Once you’ve downloaded the installer, run it and follow the on-screen instructions to install the software.
Step 2: Connect Your SDR and Install Drivers
Before using SDRSharp, you may need to install additional drivers specific to your SDR device. Airspy devices and HackRF devices are designed to be plug and play, requiring no additional drivers for operation. SDRPlay devices can be used with SDRSharp by installing a specific driver. However, to fully utilize all the features of SDRPlay devices, it is recommended to use their dedicated software, SDRUno. If you have an RTL-SDR dongle like “RTL-SDR Blog v3” or “Nooelec NESDR,” follow these steps:
- Connect your dongle to the computer.
- Locate the “zadig.exe” file in the SDRSharp installation directory. Right-click on it and select “Run as administrator.”
- In Zadig, go to “Options” and make sure the “List All Devices” option is checked. In some cases, you may also need to uncheck “Ignore Hubs or Composite Parents.”
- From the drop-down list, choose “Bulk-In, Interface (Interface 0).” Alternatively, some PCs might display options like “RTL2832UHIDIR” or “RTL2832U” instead of “Bulk-In, Interface (Interface 0),” which are also valid selections. Double-check that the USB ID shows as “0BDA 2838 00” to ensure the correct dongle is selected.
- Make sure the box on the right side of the arrow displays “WinUSB.” Then, click on “Replace Driver.” Note that on some PCs, you might receive a warning stating that the publisher cannot be verified. Simply proceed by clicking “Install this driver software anyway.” This step will install the necessary drivers to operate the dongle as an SDR device.
Step 3: Configure Your SDR
Before you can start receiving signals, you’ll need to configure your SDR. Click on the “Configure” button in the top-left corner of the SDRSharp window. This will open the configure dialog box.
In the configure dialog box, select your SDR from the “Source” drop-down menu. You can also adjust the sample rate and Gain settings here. Once you’ve configured your SDR, click “OK” to close the dialog box.
Step 4: Tune to a Frequency
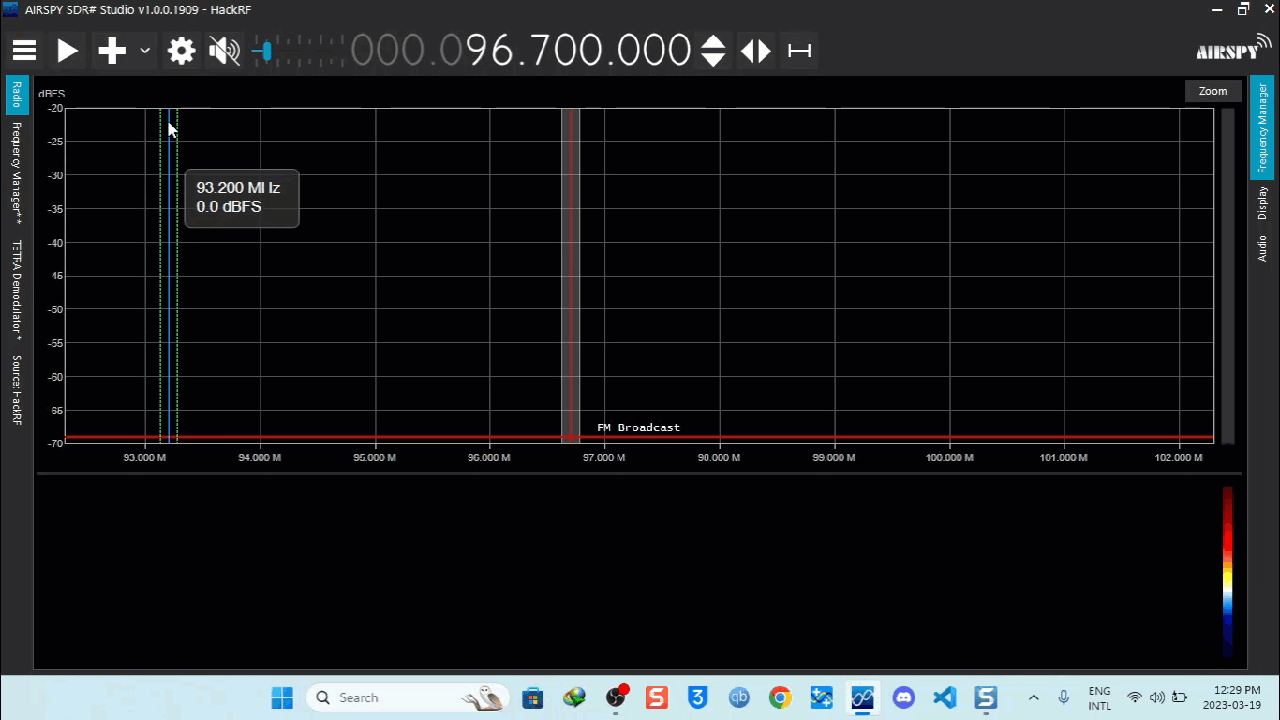
You can either directly input a desired frequency in the frequency readout or drag the “Spectrum view” with your mouse and click on any part of either the “Spectrum view” or “Waterfall view” to tune to the desired signal. If you’re just starting, an FM broadcast band between 88Mhz to 108Mhz is an excellent place to start. FM signals are usually very strong and easy to receive. Also be sure to choose the correct mode from the “Radio” tab, for FM signals it should be set to “WFM” mode. Also, you can tune in to “RSSL daily VHF Net” at 9:00 PM every day either via Yatiyanthota repeater at 145.625MHz or the Pidurutalagala repeater at 145.650MHz.
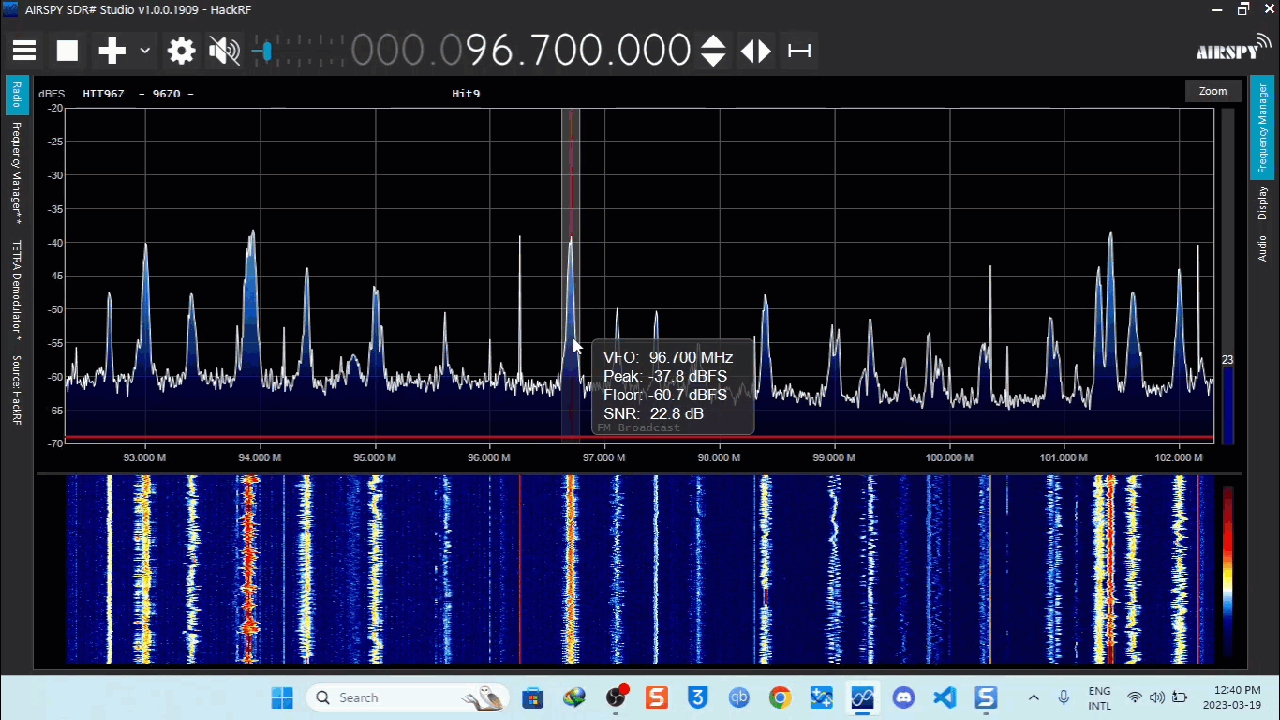
Step 5: Start Receiving Signals
Now that you’re tuned to a frequency, you should start seeing signals in the Spectrum Window. If you tune in to an FM signal, you should hear voice/music decoded from it immediately. You can adjust the gain and bandwidth to improve the quality of the signal. You can also use the “Waterfall view” to see a visual representation of the signal.
Step 6: Decoding Digital Signals
There are special digital transmissions that require additional plug-ins to be installed on SDRSharp to decode them. For example, you can use the “DSD Plus” plugin to decode digital voice signals. To install a plugin, simply download it and copy it to the “Plugins” folder in the SDRSharp installation directory. Alternatively, you can download the latest version of the “SDRSharp Community Bundle” (https://airspy.com/?ddownload=5544) which includes most of the available plug-ins preloaded. We will explore more about SDRSharp Plug-ins and how to use them in future articles.
Conclusion
Overall, SDRSharp is a powerful and flexible SDR application that offers a wide range of features for receiving and decoding radio signals. It can be used as a spectrum analyzer which allows users to visualize the entire radio spectrum in real time, making it easy to identify signals of interest. It can record audio and baseband for capturing and play them back for analyzing signals later. It can save and maintain lists of frequencies allowing users to save and revisit particular signals. It has phenomenal noise reduction algorithms. It has a customizable interface that allows users to adjust the layout and appearance of the application. This can be particularly useful for users who prefer a specific layout or who want to optimize the application for their specific use case. Most importantly it has a huge collection of supported plugins, allowing users to extend its functionality, decoding specific modes, adding new features, and customizing the user interface. We will explore these features in-depth in the future.
I HAVE THE RTL.SDR DVB-T+DAB+FM+SDR
V.3 RTL2832UR820T2 TCXO+BIAS T+HF but nothing on the display
I’m a newbie for this radio stuff.
I tested this with FM stations and it works fine. then I tried with “RSSL daily VHF Net” at 9:00 PM
at 145.625MHz and 145.650MHz in WFM. but I can’t hear anything. Is there any dedicated antenna for this listing?
I used Nooelec “NESDR Mini 2” and “HackRF one” for this testing.
can you guide me to solve this?
Hi Malaka,
Try building a simple J Pole or a Ground plane to start with. A Yagi antenna will give you more directional gain.